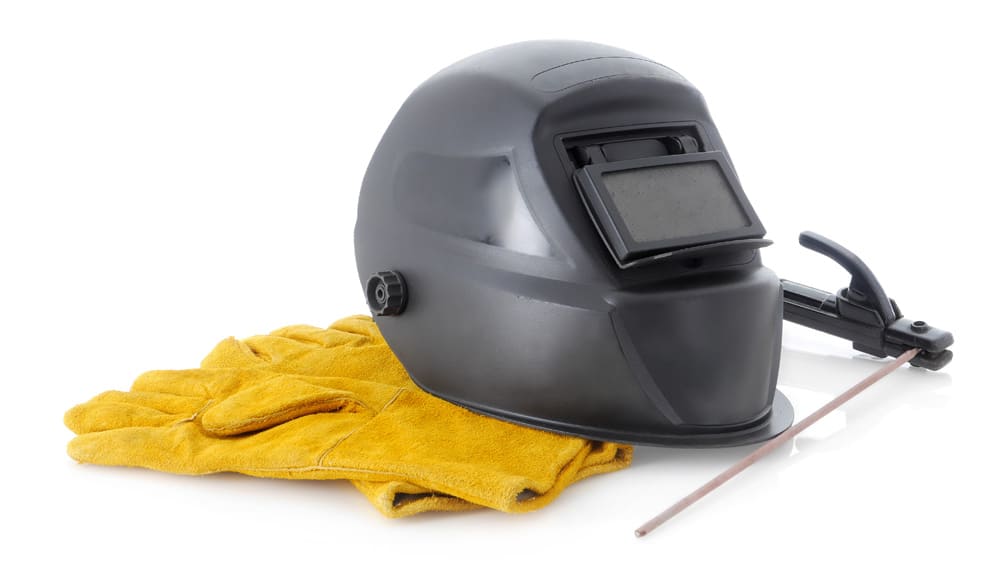
Welding helmets come in different designs. Most welding helmets require power from an in-built battery system or solar system. The latest models are technologically advanced and use batteries to deliver better results and have a longer service life.
As much as the batteries won’t last decades, you enjoy the flexibility and reliable results. You can always change the batteries when they are depleted.
Our guide will primarily focus on helping users with battery-powered welding helmets. Specifically, we guide you on how to change the batteries.
How do you Know you Need to Change your Battery?
Remember that replacing a battery costs money and takes time, so you have to be sure your welding helmet battery needs changing. But how do you know that?
- Pay Close Attention to the Alert System
Modern welding helmets have specific signals that alert you if you have a drained battery. The feature is available in standard models too - Try Welding with Variable Intensities
Your welding helmet is expected to automatically lighten or darken depending on the lighting in your environment. Try deliberately sparking up and if your helmet gives out a lot of flashes, then you have a weak battery that has problems adjusting to auto-darkening mode.
Before making a decision, ensure the sensitivity adjustment is set right and not too low or too high.
Too low sensitivity prevents the helmet from darkening when exposed to light, and too high sensitivity causes prolonged darkening. - Take a Sun Test
Put your helmet on and go outside into the brightly shining sunlight and face the sun as you wave your hands across your eyesight path (Yes, it is safe to do). The action helps block the sunlight and trigger the helmet to adjust a suitable response like an auto-darkening mode.
If nothing works, even when the settings are right, then you have a battery problem and need to change it ASAP.
Guide on How to Change Battery on a Welding Helmet
Below are the steps to take that will do the job. Don’t worry or panic, it’s a simple thing to do and you can do it yourself.
Pick the Right Battery
Auto-darkening helmets mostly use lithium batteries and some use solar cells. Lithium batteries are replaceable and are far better than the fixed versions.
Read your user manual to know which battery fits well into your welding helmet. The user manual clearly mentions the recommended batteries, whether AA or AAA, and the number required.
Gather the Right Tools
Besides your battery and welding helmet, you need tools for the job. The tools include;
- Hot glue gun
- 3C DC cell holders
- A screwdriver
- A soldier and matching iron
- Dremel diamond wheel
After procuring the tools, find the battery location which varies depending on the model of the welding helmet.
Find the Welding Helmet Battery
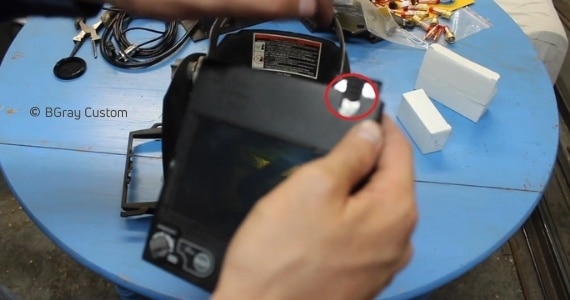
Most helmets have their batteries in the front casing section. Examine the section to access it, look near the lens. Dissect the battery with your Dremel diamond wheel. This should take you a minute or two.
Work on the helmet while on a table for support. Cut a small square the size of a postage stamp and put the plastic cut in a safe place, as you will need it later after changing the battery. Note down the exact battery location and polarity.
Remove the Battery
Be focused here, as it’s a crucial part. Use the screwdriver to loosen the tables securing your battery. Don’t loosen all as it may break some, ensure the tables are loose enough to release the battery.
Apply a slight force to set the battery free. Brute force will break the tabs and damage your helmet.
Install the New Battery
Use your solder to connect your battery holder with the leads. Ensure the red lead matches the positive sign and the black lead matches the negative sign.
Make a small slot incision to allow the battery wires to run externally. The slot allows you to connect the wires to other sections of the helmet.
Put your new battery in the holder and place the holder in its original location.
Use the hot glue to seal back the plastic cutout and any wires, including anything you opened during this process.
Test the Battery
Test your welding helmet by going to a dark place to see if it automatically switches to a light mode.
Proceed to the sunlight and face the light of a light source like a bulb to see if the helmet automatically switches to a darkening mode.
The purpose of this procedure is to know for sure if the new weldingmaniac08-20nt battery is working.
How to Change Battery on Other Welding Helmet Brands
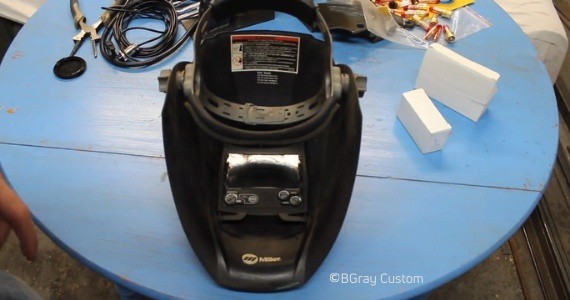
Some helmet brands like Miller require users to take out both the outside and inside lens covers. If your brand requires you to do that, then follow the steps below.
Locate the bottom and push down on it. Push the clips towards the outside, then lift up the assembly. Pull the assembly free. The remaining task is the lens covers.
To Remove the Outside Lens Cover
Push your cover into the helmet. There is a rubber lens gasket coming out, remove it.
To Remove the Inside Lens Cover
Push your helmet lens freely on the top tabs, then slide the cover out. The cover can come out from any side.

Use the same procedure to remove the lens covers from Harbor or Hobart Freight helmets. So, we’ll just proceed to replace the battery.
- Remove the battery trays. Slide them out to remove the drained batteries out.
- Replace your battery with a recommended lithium battery, you may need two lithium batteries.
- Keep the positive terminal side facing upwards towards the inside of the auto-darkening helmet.
- Re-install your battery trays
- Press the ON button for testing and monitor the display screen. It should indicate ON.
- Re-install your auto-darkening helmet lens assembly.

Ensure you install the battery tray correctly, as it was before. Wrong trays placement results in zero battery functionality.
What we Know about Welding Helmets
Auto-darkening welding helmets are very popular because they are seamless to use and convenient. The helmets switch automatically when there is a bright light to protect your eyes. There are many renowned brands that make the helmets such as Hobart, Miller, and Lincoln.
Always buy original batteries as they guarantee you longer service life.
Final Words
I hope you have learned a lot from the article and now you know if your auto-darkening helmet battery needs weldingmaniac08-20nt. Original lithium batteries last longer than most standard batteries. You get a service life of at least two years.
Follow the steps carefully to change the battery on the welding helmet without causing damage to your auto-darkening helmet. You can do the work yourself as the instructions are easy to follow and don’t need expert hands. However, take great care to ensure you do everything right.
If you have further questions on auto-darkening helmets or other parts, feel free to ask.

