For sure, any conformist in the welding industry may not buy the idea of welding with a car battery. They will consider it as a crazy idea.
However, for the individuals who have at one point been in trouble in the middle of the road and had a welder in their car truck but no easy access to the usual power source, implementing the idea might not seem crazy at all.
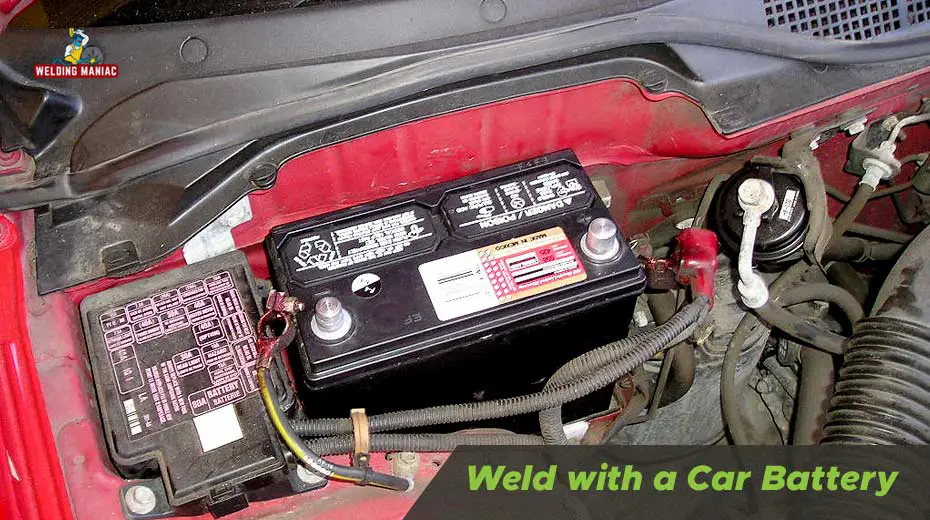
In this article, we will be describing how to weld with a car battery!
Required Tools
Have you ever imagined doing something you have never done before? For sure, it can be an exciting proposition.
To enable you to achieve your aim of welding with a car battery efficiently and safely, you will have to invest in the right tools and equipment.
In most cases, you will always need three batteries instead of one. This is because a single battery will never offer the juice of creating an arc that melts metals. Every battery offers 12 volts that will make it insufficient for creating an angle between the workpiece and the rod tip. When you use three of four batteries, you will get 36 to 48 volts of output, which will ensure you achieve your main objective.
Connecting the Batteries
Ensure that you wire the batteries in a series, ensuring that any of the batteries’ positive pole is well attached to the negative pole of the next battery in line. The setup will help when creating and sustaining an arc.
So, How will you Wire more than One Battery?
- Identify the positive terminal of one battery.
- Go to the next battery and identify its negative terminal.
- Keep the positive terminal of the first battery after the negative terminal of the second battery. Ensure that you maintain the same position for both the second and the third batteries.
- You will always have the positive terminal of the third battery-free with this connection. You can connect the free terminal to the object you will be working on.
- Since you have the ground clamp, you will have to clamp one end of the two cables to that positive pole of the third battery, with another end of that cable being clamped to the metal.
Attach the Electrode
Although it is too early for you to have the battery cable attached to the battery, you will have to connect the electrode to that cable.
It is always a great idea to go for a regular welding rod when compared to an electrode set in a pinch. The standard rod will last longer and be easier for you to work with, and it also produces high-quality welds.
You will require a slot that will help in holding the rod in place. Pliers will help in prying the battery cable teeth inward.
After receiving the slot, ensure you secure the rod in the clip while maintaining the surface contact between the clamp and the electrode.
In case you think you will need high amounts of pressure to help keep the electrode secured, you can always tie some of the plastic materials around the battery cable clamp. An inner bicycle tire tube will always do the trick.
You can also use locking tools like vice grip pliers, although you might be forced to deal with the problem of those pliers getting in your way.
Complete the Connection
Attach the end of the cable that remains free and hold the welding rod to the free battery terminal that is most likely to be the negative one.
When establishing the connection, ensure that the welder is always hot and exercise lots of caution when touching anything with it or setting it down anywhere.
Cover the Car Batteries
You will never have control over every second of the job you are doing. The batteries will have to be protected by using secure covers. You can always choose the covers from various materials such as a welding blanket, jacket, or plywood sheets. This will help in keeping the car batteries from getting ignited by sparks.
There is a possibility that the batteries will explode, which explains why you should consider using the protective cover.
Use Personal Safety Equipment’s
As you think about welding using automobile batteries, you need to know what welders will require safety items on any typical job. However, you will not have to get a friendly reminder to put things such as gloves, welding helmet, and non-inflammable outfit.
Start the Arc
When your welder is ready, you will now want to create the arc—using the electrode holder, which will be the battery clamp, sweep the electrode against your piece of work to allow a fast and spark flare-up. Although you might not be successful on the first try, do not give up; keep doing that until you see sparks.
Ensure the electrode will stay a minimum of 1/8 inch away from the metal piece you are working on. The distance will be needed to help maintain the arc that is responsible for melting the welding rod and the metal underneath it.
Any contact between the metal and the electrode being worked on will lead to a complete circuit; it will not have an electric arc in such a case.
Making the Weld
When making the weld, you will first have to form a weld puddle that contains a molten metal. The arc will always require some time for that. You can then allow the angle to continue until such a time when a puddle will be formed by hovering over the metal spot where you intend to start. With this, you will have the first tack weld.
Get the other metal end and ensure that you maintain the arc to form another puddle. Never forget to ensure puddles are kept at least 6-inches apart from one another. Tack welds will hold the work areas on your workpiece together and will enable you to continue welding.
When you are done with the welding job, you will see some substance on the weld with a glassy look. The substance is slag. When the electrode is heated, the flux will start boiling away while producing some shielding gas that will blow away the contaminants or air to help protect metal that has been molten from oxidation.
There are times when slag accumulation might occur in plenty. Always use a hammer to help you strike the slag that has accumulated. With just a few strikers, you will break the slag away, exposing whatever weld you have created below.
Improving the Quality of the Weld
When done with making the puddle, you can slightly push the welding rod until the melt pool is filled. After that, barely move the rod forward. Half of the weld pool diameter should be enough.
Conclusion
I hope this guide on how to weld with a car battery was a fun one for you. It was a fun experience for me as well when I tried that just out of curiosity. If you know your nuts and bolts then this should not seem like magic to you. Neither a crazy idea.
Feel free to ping me for further queries. I will be happy to help. Safe welding guys.