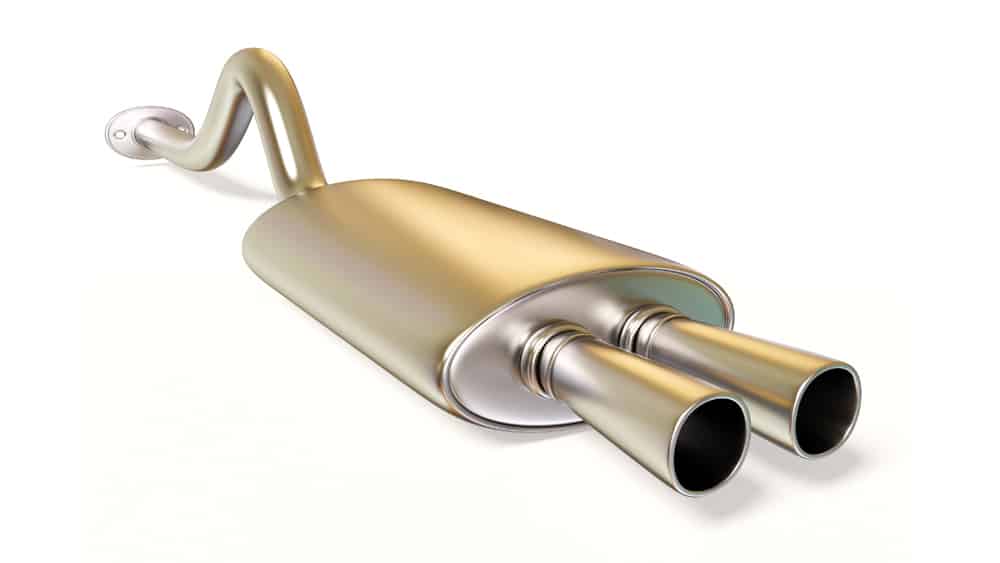
One of the vital components of your automobile is the muffler. Situated underneath the rear of the car, it is basically part of the exhaust system of your vehicle’s engine.
The muffler helps to scale back the noise produced by your engine. Furthermore controlling the backpressure, which improves the endurance and performance of your car’s engine. Backpressure is formed by the engine’s valves moving altogether in attainable directions and colliding and canceling one another out.
A well-maintained muffler is crucial to preventing needless issues and damages to the engine and exhaust system of your vehicle. Clogged or broken mufflers can be noticed through the symptoms of a vehicle running rough, sounding loud, having lower fuel potency, leaking gases causing unusual smells, etc.
Mufflers are not that expensive part of a car to replace, however, the hassles are often high at a mechanic shop.
You will learn how to Install a Muffler without Welding on your automobile while not having to weld it in place or bring it to an expensive mechanic shop.
When to Replace or Install a New Muffler
As you drive, know about the following symptoms:
- Noisy Exhaust – Your vehicle should run moderately calm when the muffler is working accurately. If something isn’t right, the noise level will increase significantly.
- Decreased Gas Mileage – Perfectly tuned exhaust systems ordinarily produce the most efficient gas mileage. If your driving propensities haven’t switched yet you are topping off your tank more regularly than typical – there could be an issue with your muffler.
- Smelly Vehicle – Your muffler ought to pipe the fumes outside and away from your vehicle; however in the event that they’re going inside the vehicle, there could be a break in your exhaust system. Thus, producing a distinguishable smell.
Remove the Old Muffler
To remove the old muffler in a proper way:
- Park the vehicle on a flat & strong surface. Bring up the vehicle using jack stands and set the jack stands thereunder within the acceptable places under the frame.
- Using your tools, take away all muffler clamp bolts holding the previous muffler and muffler joints in place. Ensure the vehicle is cooled off before this step otherwise you will be badly burned because the muffler gets terribly hot.
- Measure the previous muffler next to the new muffler to be certain that they are the constant length and therefore the bolt holes match. Throw away the old muffler thus it cannot be used again, particularly if it’s clogged or damaged.
Step-by-step Process of Installing Muffler
Step 1. The muffler should slide tightly onto the present exhaust pipe. If this is not the case, then take a measurement of the diameters of every pipe and get an adapter from an online or offline store.
If you add an extension pipe, make sure to attach it to the muffler’s pipe, in the same manner, you would add the muffler pipe to the exhaust.
Step 2. To help the heaviness of the muffler, slide the metal holder on the muffler into the rubber eyelet. It will keep the muffler from shaking or making a vibrating clamor inside the lodge of the vehicle. Make sure to supplant the rubber eyelet on the off chance that you harmed it while removing the old muffler.
Step 3. Before you slide the new pipe into place, spray on it using an exhaust sealant. It helps to set up a water/airproof seal between the two pipes. It also diminishes the odds of an exhaust leak where the pipes interface with each other.
You may have to permit the exhaust sealant to sit for a couple of moments prior to proceeding onward.
Step 4. The muffler should rest straightforwardly beneath the elastic eyelet, so the eyelet hangs straight up & down. The pipes should fit together cozily. On the off chance that the two pipes feel free or can be squirmed, you will require an adaptor to coordinate the right size.
Most exhaust piping comes in with a diameter of two and a half inches. You cannot just seal some unmatched size pipe onto another line, regardless of whether you overtighten the muffler clamps.

Step 5. With the piping placed appropriately, slide a muffler clamp over the zone where one pipe covers the other. Utilize a socket wrench or hand wrench to tighten the clamp.
You might need to utilize a half-inch drive wrench to tighten the clamps to guarantee you have adequately tightened them. Be sure you tighten the clamp over where the piping covers, else you could crumble the piping.

Step 6. Start the vehicle and look underneath it at where the muffler and exhaust pipe meet. You should see an exhaust leak if there is one. If you are uncertain about whether there might be a leak, press down on the gas pedal marginally to build the RPMs of the vehicle engine.
If you distinguish a leak, wait for the piping to cool down. Then examine the possible reason for the leak. You may have to eliminate the muffler clamp and place the pipes together appropriately before fixing the clamp again.
Epilogue
Like any component of a car, mufflers can, in the end, wear out or get harmed as you drive them. Despite the fact that they are frequently ignored, giving them some consideration will keep your vehicle appropriately muffled.
I hope by now you have a fair understanding of how to Install a Muffler without Welding Make sure to follow all the proper safety measures while replacing the muffler.
Reference Post: Muffler weldingmaniac08-20nt cost